Spring with Kotlin - Spring MVC
I switched back to IntelliJ! Agree, Eclipse is used by many organizations
because of its open-source nature, but given an option, I would always go for
IntelliJ, period. Especially if you are using Kotlin, IntelliJ is an obvious choice to work with. As I continued my Spring & Hibernate course, the project setup is probably the biggest part as rightly pointed out by the instructor.
I am not going to bore you with project setup, you can just use this guide. In nutshell, I installed the
Smart Tomcat
plugin for IntelliJ and continued using JSP/JSTL as a View template. The course uses Eclipse with all the Spring projects as JAR dependencies. But it would be efficient if we just include the dependencies that we actually need and so I set up a Maven project and defined all the required dependencies in pom.xml -
With the basic project setup ready, now was time for framework-specific
configs. Any Spring MVC project needs following 5 configurations steps before start writing actual code for Model, View, and Controller -
in WEB-INF/web.xml:
Step 1: Configure DispatcherServlet: DispatcherServlet is a front controller and is part of Spring Framework, already developed by Spring folks. We only need to configure it in the web.xml file.
Step 2: Setup URL mappings to DispatcherServlet: You need to map all
incoming web requests to DispatcherServlet to handle.
in WEB-INF/spring-mvc-demo-servlet.xml file:
Similar to the Spring Context file we discussed in the previous Spring Core blog. We need to use this to configure the remaining steps:
Step 3: Add support for Spring component scanning.
Step 4: Add support for conversion, formatting, validation of the form
data.
Step 5: Configure Spring MVC view resolver: Points where the view pages
are located with prefix and suffix.
Note - There's an additional step to configure reading from a properties
file.
Now, note that this is all XML config. If we want to get rid of
web.xml and spring-mvc-demo-servlet.xml, we can perform the same steps with Kotlin coding as well. For the purpose of this blog, we will stick to XML config.
Great, I was finally ready to code a few examples! I prepared the following
code snippets along with random code comments/notes which are pretty much
self-explanatory:
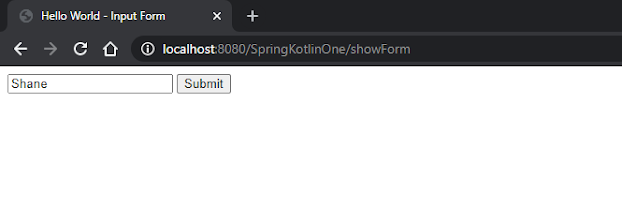
Example 1 - Reading HTML form data: Reading HTML form data is
quite straightforward. Let's say you have a form with an input type text and a
submit button in helloworld-form.jsp If you want to read the text in
helloworld.jsp (confirmation page), you just need to call the name of the attribute in the text input field as ${param.name}.
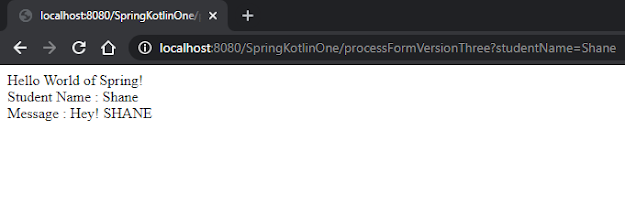
Example 2 - Adding data to the Spring model: Let's say you want to modify text in your controller and then pass it to the confirmation page, it can be done in 2 ways. You can either use Java EE
HttpServletRequest to get request information or simply use
Spring Framework's @RequestParam annotation. Once you have the text, you can add it to the model which is passed along to the confirmation form.
both Example 1 and 2 are covered in the following code -
Here's what form looks like on UI -
Hit 'Submit' button and you can see confirmation page reading form data and
model data
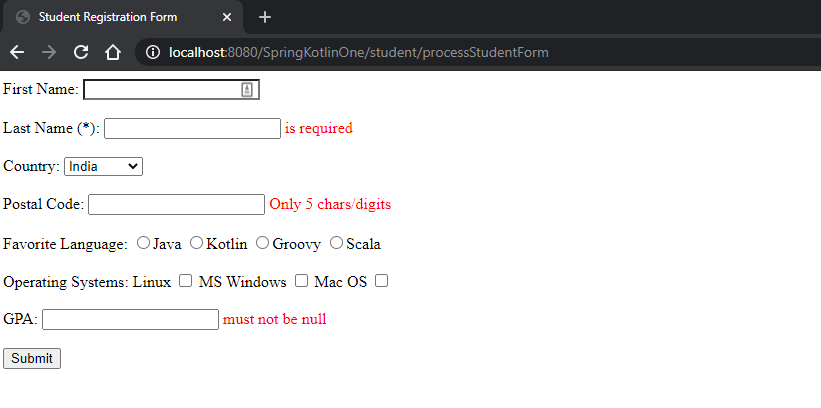
Example 3 - Spring Form Tags and Data Binding: Spring's form tag library is integrated with Spring Web MVC, giving the tags access to the object and reference data your controller deals with. Form tags make JSPs easier to develop, read, and maintain.
Example 4 - Form validations: When you use Spring form tags, you
can validate the fields by inbuilt annotations and custom annotations of your
own.
both Example 3 and 4 are covered in the following code -
Input form on UI -

If validations are passed, confirmation should show the following -

If the form has validation errors, confirmation should show the following
-
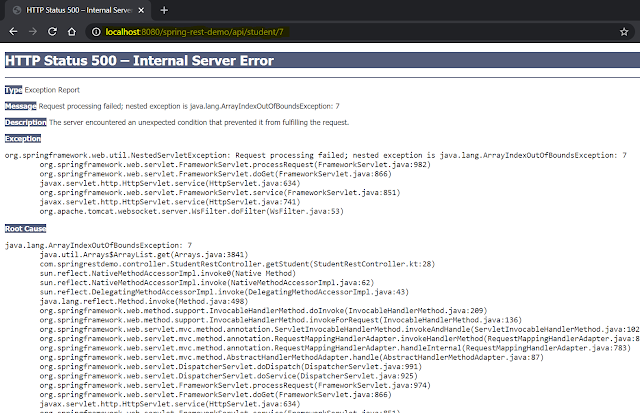
- Don't use lateinit on your model class fields. It will throw InvalidPropertyException error while loading the form. Instead, use nullable types.
- Avoid defining parameters in primary constructors of a Kotlin class as validation annotations won't work. You need to define parameters inside the class separately.
Thanks for reading and stay tuned for more!

Comments
Post a Comment